Background: The photo (below) shows a container grown Dwarf Cavendish that is on its third season. This plant suffered storm damage shortly after being moved outside this spring. The “mother” psuedostem died back and had to be progressively cut-back until the corm started to produce a new viable plant. While in “survival mode”, this storm damage plant produced four vigorous pups… ranging in height from 8” to over 30”.
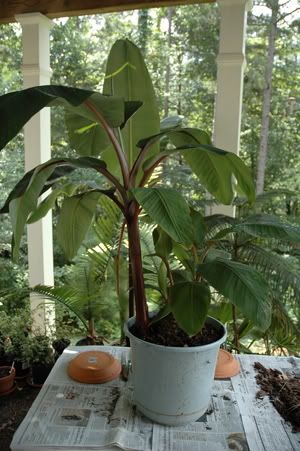 Photo 1 - Dwarf Cavendish Mother Plant and Pups
You’ll find that separating and harvesting your banana pups will go much smoother if you prepare a suitable work area and get your potting soil mixed and an assortment of various sized containers assembled.
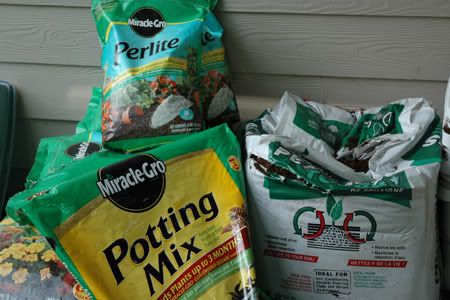 Photo 2 - Potting Mix Components
There are numerous posts on this blog regarding what soil mix to use. My preferred blend (by volume) includes: 1/3 Miracle Grow Potting Mix, 1/3 Sphagnum Peat, and 1/3 Perlite. You’ll develop your own preference for organic components over time, making adjustments for your local environmental conditions and your own feeding / watering practices.
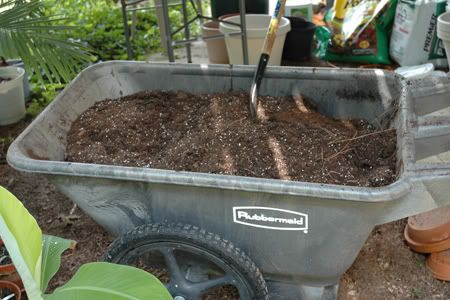 Photo 3 - Potting Mix (Blended)
For these Dwarf Cavendish pups that ranged from 8” to over 30” tall, I used a mix of containers ranging in size from about 2 gallons to 10 gallons in size.
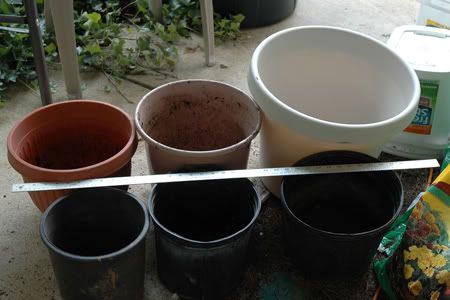 Photo 4 - Assorted Containers (2 Gal to 10 Gal)
Work on a potting bench or table where the banana plant growth can extend off the end of the table while rolling and flexing the pot sidewalls. If needed use a long bladed knife around the edges to release the plant from the container… just like taking a cake out of a cake pan.
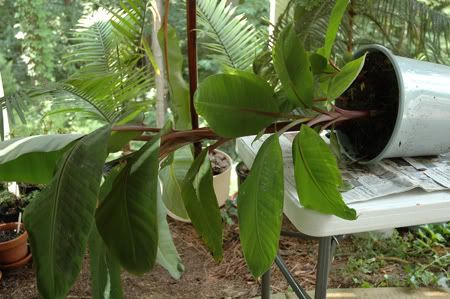 Photo 5 - Potting Table and Removing Plant for Pup Separation
Now is a great time to evaluate your plants existing roots to determine how healthy your soil mix and environmental practices are going. The photo below shows a network of mother plant and pup roots exhibiting good color and vigor. No signs of pathogens or root rot were evident.
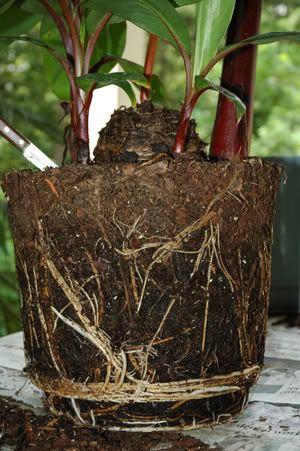 Photo 6 - Evaluate Root Health
Chose the first pup you would like to separate and begin to cut a pie-shaped wedge radiating from the corm to the outer circumference of the soil.
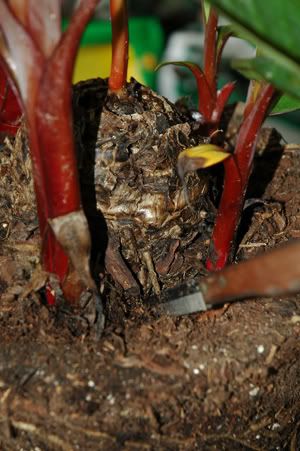 Photo 7 - Separating Pup --- The First Cut
Next to the corm, cut vertically (or on a slight diagonal towards corm) to slice the growth connecting the pup to the mother corm.
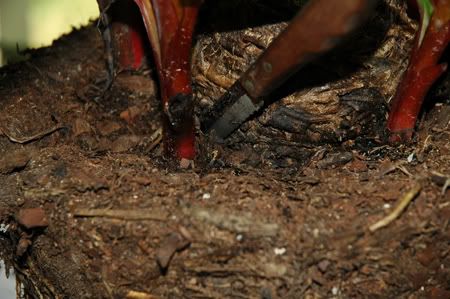 Photo 8 - Separating Pup --- The “Corm” Cut
The following diagram from our website links further describes the cut to separate the pup from the mother corm.
Banana Gallery - Banana Diagrams
If all goes well, you’ll be able to gently pull the pie wedged soil mass along with the first pup away from the mother root mass.
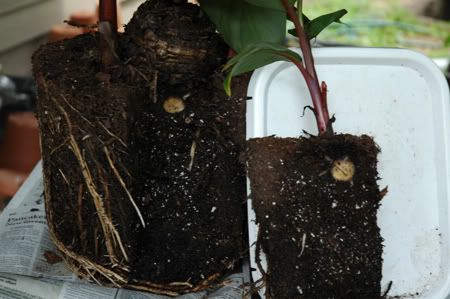 Photo 9 - Separated --- The Pup and Mini- Root Ball
Select an appropriate container size and pot the pup at the same height in the soil as it was growing when connected to the mother plant corm.
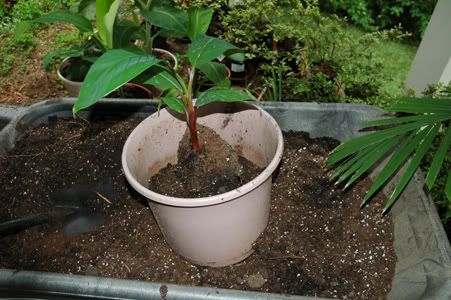 Photo 10 - Potting The Pup --- Same Height as Before Separation
Cover with a mulch (I use pine bark nuggets) to prevent your soil mix from drying out too quickly and/or shedding water down the sides of the pot when you water; and finish by protecting your tender plant from damage from your watering hose, etc. by inserting a bamboo stake.
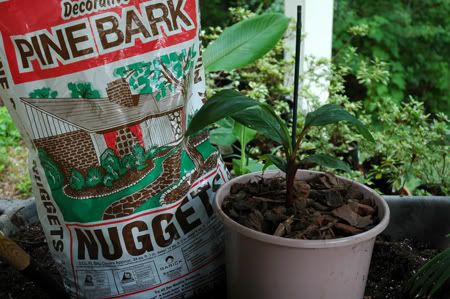 Photo 11 - Cover with Mulch and Protect with a Bamboo Stake
You’ve now finished separating your first pup. Follow the same process for all remaining pups.
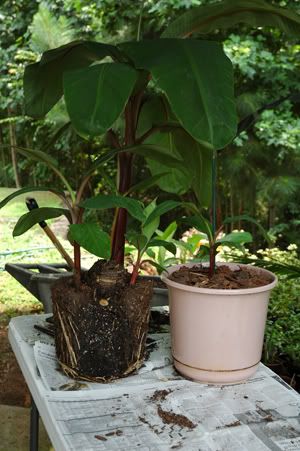 Photo 12 - Mother Plant and First Pup (Side By Side)
You might want to leave one (or more) of your vigorous pups attached to the mother corm, particularly if the mother plant has been compromised as was the case with my storm damaged Dwarf Cavendish. This is also an opportunity to up- size your pot for the mother plant.
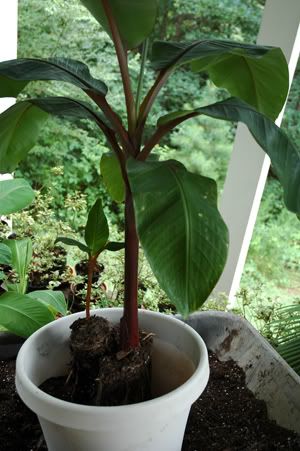 Photo 13 - Up Size the Pot for the Mother Plant
Good luck… Before long you’ll have a rapidly expanding collection of bananas. The following photo shows all the pups and my two Dwarf Cavendish parent plants. I hope this brief tutorial helps other container growers decide when and how to harvest their pups. Hopefully, the “experts” will add their comments and critique to this posting to even further enhance our shared knowledge.
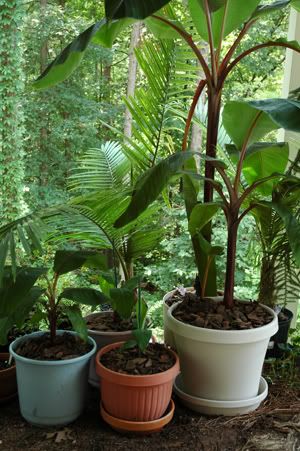 Photo 14 - Separated Pups and Parents